Epoxy broadcast flooring is a resurfacing technique designed to restore worn concrete floors without having to perform a heavy-duty restoration or coating project. The coating contains high-quality epoxy resin and silica, quartz aggregates, or other color flakes that fill in low spots on the floor and create a smooth (or lightly textured, depending on what you’re looking for) and shiny finish.
Broadcast flooring is easy to customize and is typically used in kitchens and food preparation areas.
Advantages of Epoxy Broadcast Flooring
In addition to renewing the look of your old concrete flooring and providing a safe, textured finish that minimizes slips, epoxy broadcast flooring is:
- Easy to clean
- Chemical-resistant
- Customizable
- Durable and long-lasting
- Moisture-resistant
Prepare Your Surface
The first step is to prepare your floor so that the epoxy broadcast flooring can be safely and securely installed.
Clean and dry your surface area, and get rid of any dust, oil, dirt, paint, grease, or other contaminants. If you’re adding to a newer concrete floor, ensure that any concrete surface has been cured for a minimum of 28 days.
Apply Your Primer
All floors should be prepped with a primer in order to ensure that the coating will stick and stay durable. The primer will also seal the air in the concrete and prevent air bubbling when you’re finished.
Pour the primer onto the concrete and spread to a suggested coverage of 250 square feet per gallon. Use a squeegee or a flat trowel to evenly roll out the primer product and allow the coat to set for 10 to 16 hours.
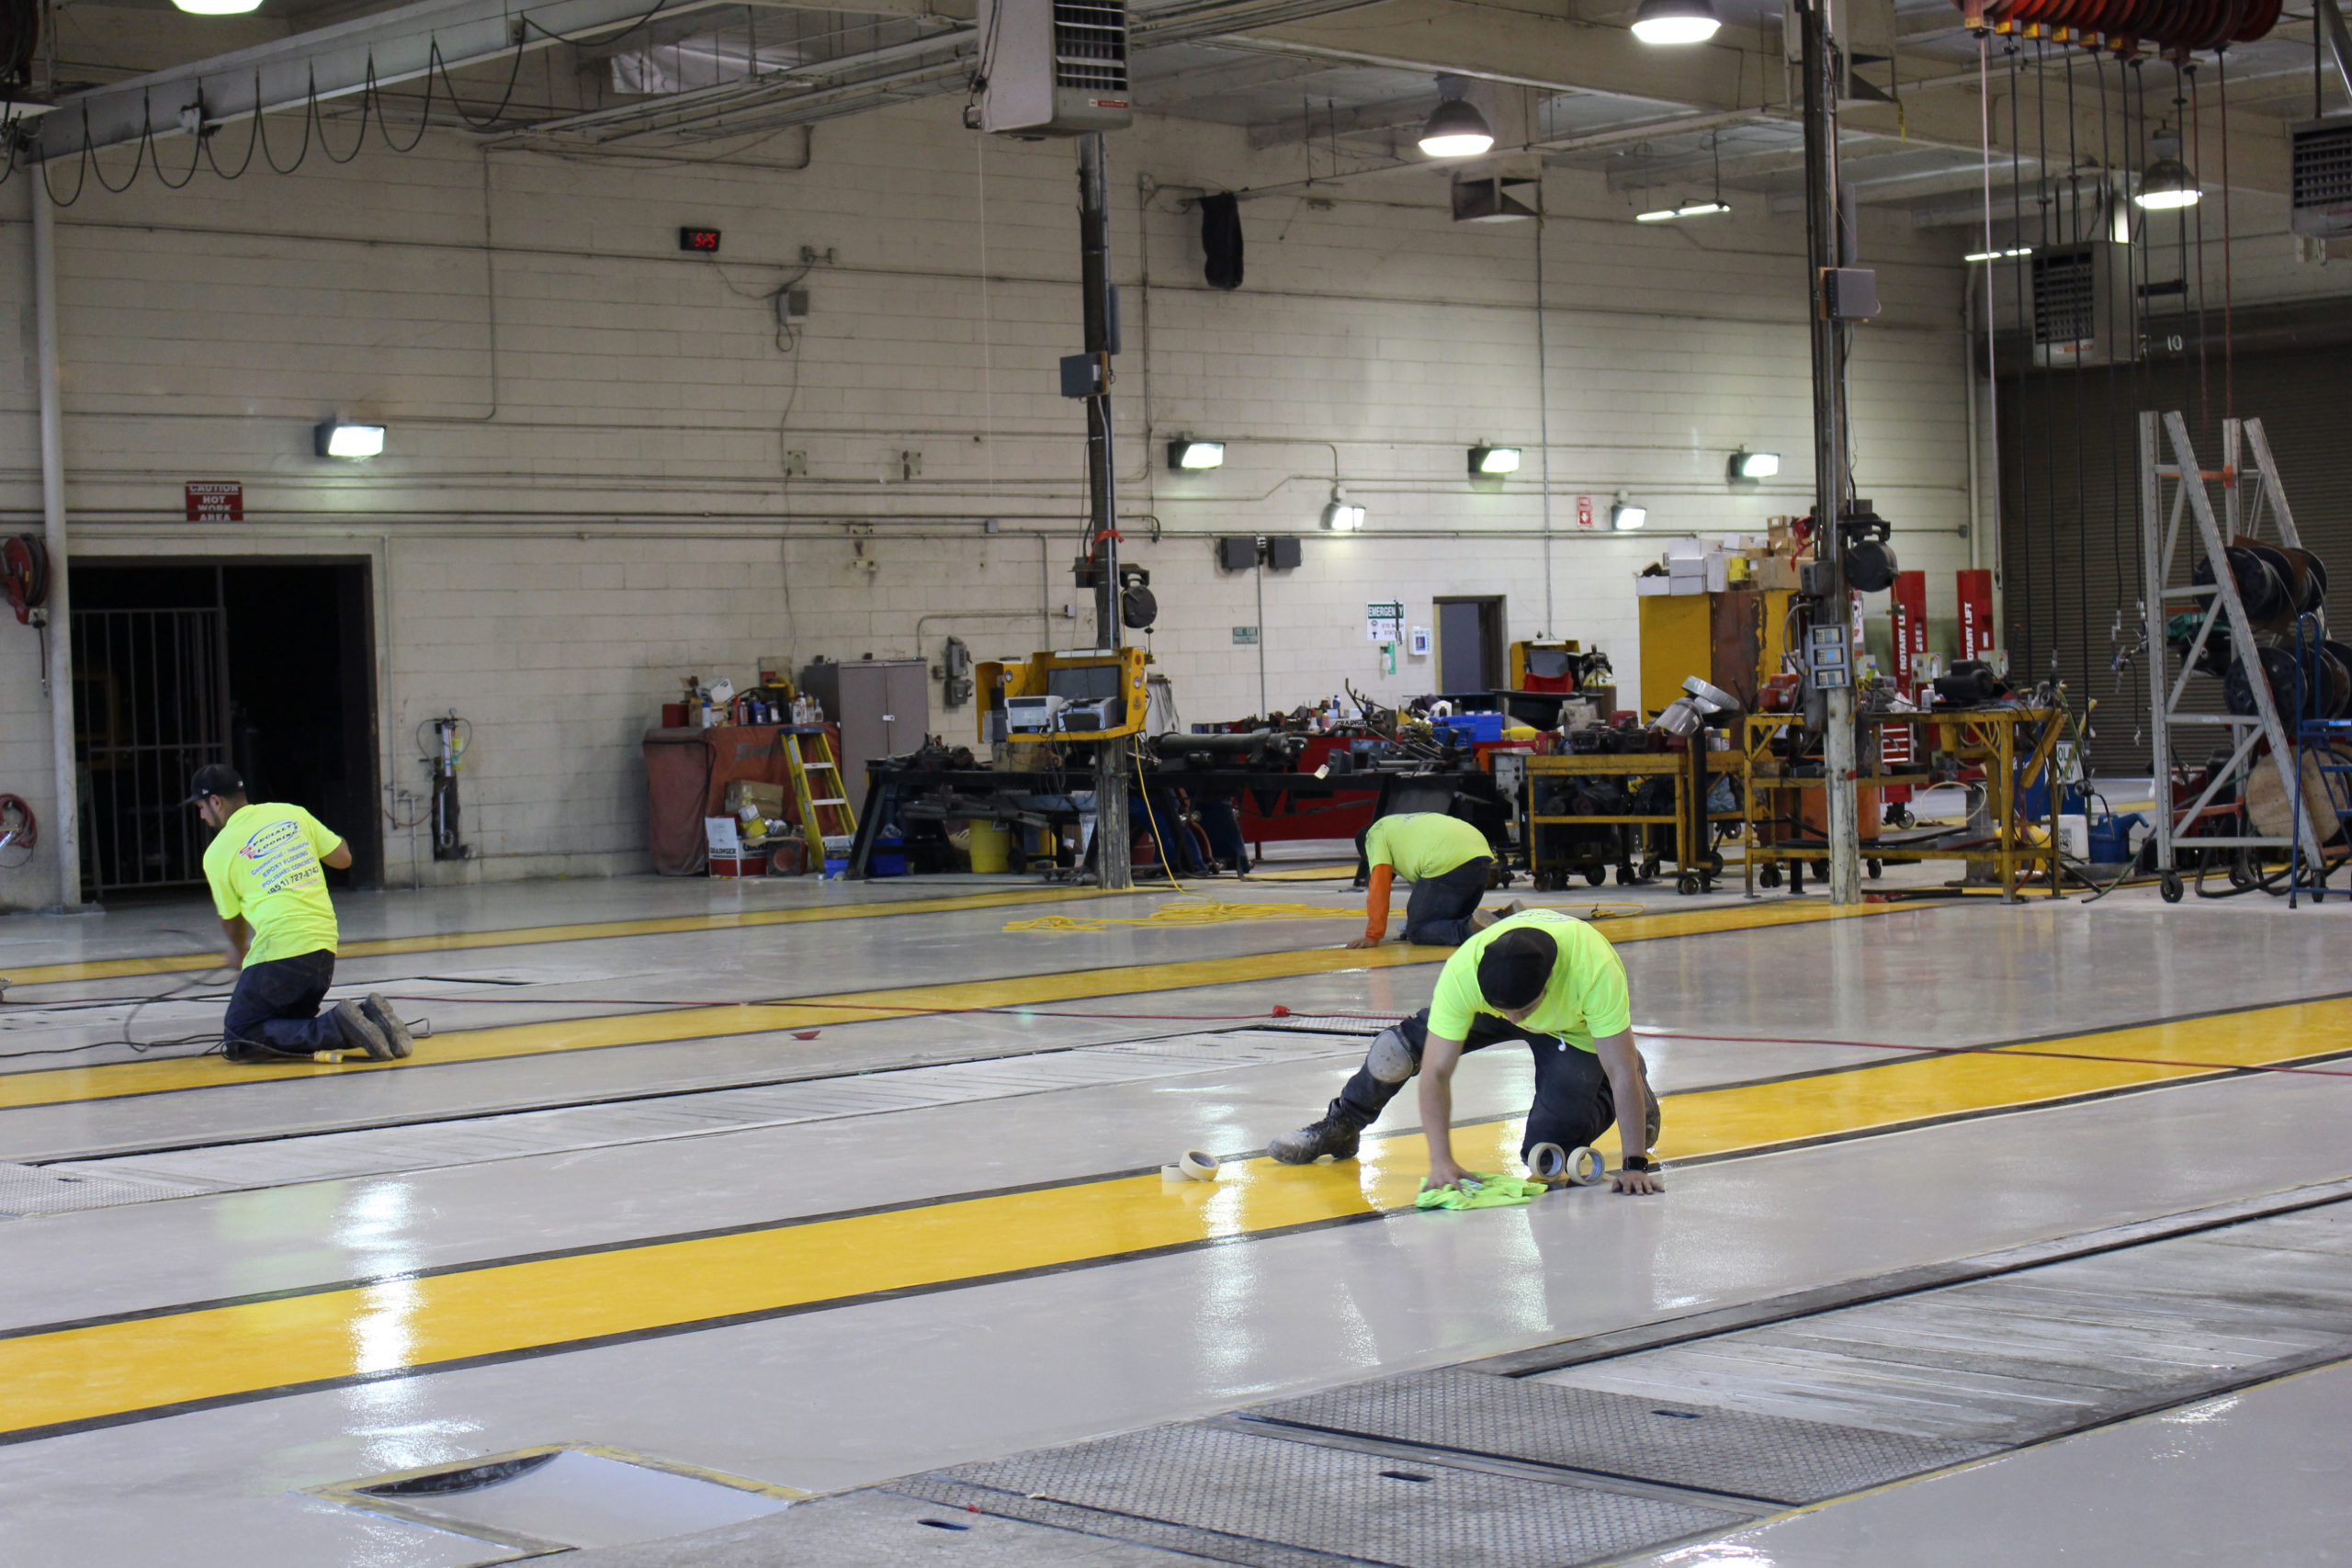
Apply Broadcasting Flake Coating
In order to easily install the color flakes in the coating, two people should be working on this step.
After the primer coat sets, one person should install the epoxy coating material per the manufacturer’s instructions while the second person follows behind and distributes flakes as the coating is being poured. Try to avoid clumping, and make sure you add more flakes than you believe are needed onto the wet floor until the surface appears dry (complete coverage requires over-application).
Use a wet vacuum with a wide floor attachment or a stiff-bristled broom to smooth out the flooring and remove any loose flakes. The end result should give you the appearance of even distribution.
Finish With a Top Coat
The final step in the installation of an epoxy broadcast flooring system is to add the top coat. Epoxy requires either two coats of urethane top coat or one coat of 100% solid epoxy and a urethane top coat. Apply the mixture with a roller or flat trowel and spread the top coat evenly. Avoid immediate use of the area, since the chemicals won’t cure for at least seven days.
Tips for Installation and Aftercare
Although epoxy broadcasting is fairly straightforward, here are some helpful tips to remember while you install your new floor:
- Wear spiked shoes while working with wet flooring.
- Line where the flooring meets the walls, doorways, etc. with masking tape to create clean termination points.
- Purchase more granules and flakes than you need since only some of them will stick.
- Don’t mix more primer, epoxy aggregates, or top coat than you can use at any given point to avoid uneven curing.
Specialty Flooring Inc. is committed to providing our commercial and industrial customers with the highest-quality flooring products on the market. Our highly experienced installers are ready to help you with any questions you might have about epoxy broadcasting and more! Contact us today!